You can add and edit landing pages in a few ways
-
In the admin interface
-
Connect a git repository (recommended)
-
Importing and exporting in a zip folder
In the admin interface
You can create and edit landing pages directly in the admin interface at /admin/plugins/landing-pages. On that page, click “Create” and you’ll see some empty inputs appear. Enter the required fields for a page, then click “Save”.

If you’ve filled the required fields and the path you’ve chosen is not already taken (more about that here), your page will now be available at the url in the grey box underneath the page title.
Any landing page helpers and partials can be used by just adding them to the page body and clicking “Save”.
If you’re just looking to quickly make some pages to test out an idea, or which you’ll only use briefly, this is the easiest way to do it. If this is the approach you’re taking, then it’s probably best to insert your styles directly into the body HTML using the style attribute. If you need to use a seperate CSS stylesheet it’s probably a sign you need to manage your page assets differently.
Connect a git repository (recommended)
The best way to manage your landing pages is by creating a new git repository for them, and connecting the repository to your discourse in the landing pages admin interface.
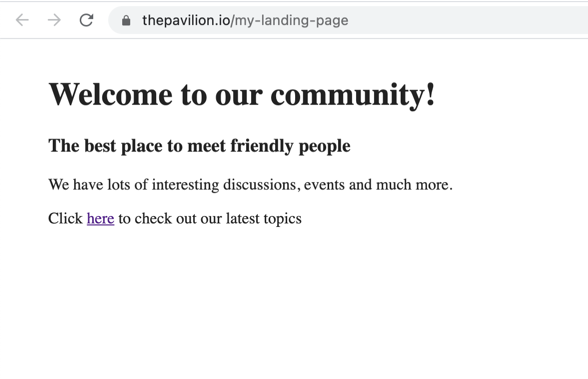
First, create a new folder to store your pages. In that folder create a page.json with a JSON object containing a name and path attribute for your page, and a body.html.erb file containing your page HTML. Turn this folder into a git repository and push it to a git server. Here’s one using the same example we used above.
To connect your pages repository, go to /admin/plugins/landing-pages and click Repository. Enter your repository url, and add the pages public key to your repository’s “Deploy keys” if your repository is private. Before you can can save your repository, check that the plugin can connect to it by clicking “Test Connection”.
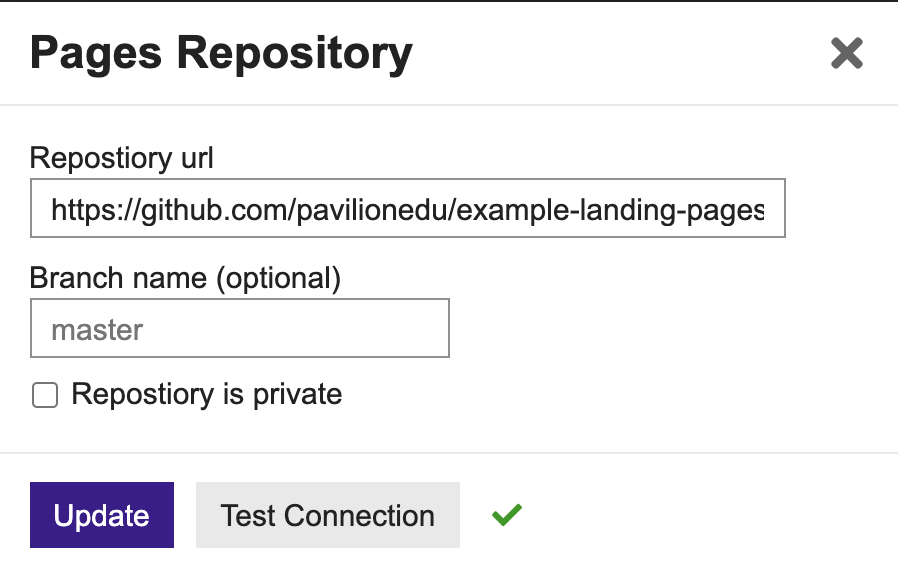
Once the connection is established click “Update” to save your repository. Now that your pages repository is connected, click “Pull” to import your pages. You’ll see a report of what has been imported once the pull is complete

To view your imported page, click the “Select page” dropdown and select your imported page. You can still edit and save pages imported from a git repository in the landing admin interface, but please note that any changes made to an imported page in the admin interface will be lost on the next import.
Import pages in a zip folder
If you’re not able to use git to manage your page assets, you can import your pages in a zip folder. This should only be used as a backup when git management is not available.
The files and structure of your pages folder should be the same as when you connect a git repository. Instead of committing your pages folder to a git server, create a zip archive from it, then click “Import” in the landing pages admin interface and upload your zip archive.